Securely Sharing Large Files using OneDrive
The Problem
Sending large or files containing sensitive information via Email isn’t possible or advised. A common challenge for Medical, Financial & Legal practices alike. Many email systems have an attachment size limit of 25MB – and although the sending limit may be higher, the receivers mail system may still be lower. Further, sending patient/client sensitive information via email has the potential for being exposed should either the sender or recipients email account become breached.
The Solution
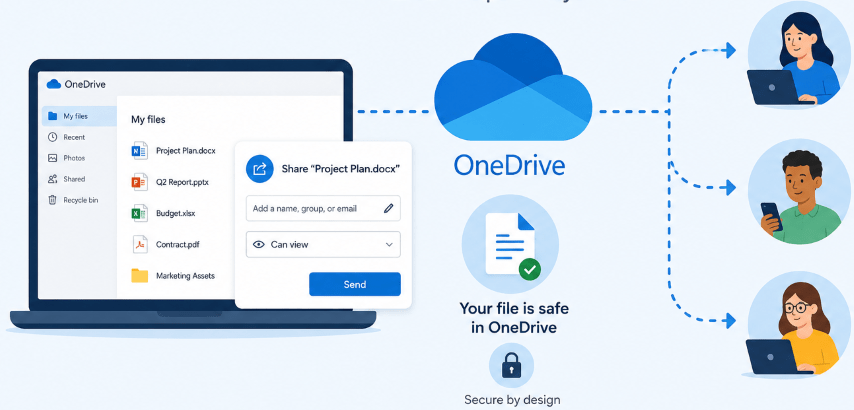
Utilise what most Businesses already have access to! OneDrive is cloud data storage, secure by design, ready for sharing with external parties. Files and folders containing multiple and large files can be shared with recipients in a secure manner. Instead of attaching the actual files to email, a secure link is sent instead. That secure link can be configured to only allow specific recipients to access it and for a selected time frame.
**Some industries or licensees may have specific guidelines and security requirements to adhere to. Be sure to follow relevant procedures where they may supersede this solution.
**Before continuing, it is highly recommended to ensure your Microsoft365 Email Account is MFA protected!
- Consider using a single general email address for ease of tracking shared files. E.g. reception@mybusiness.com.au , info@ or admin@, etc.
- Visit OneDrive (https://onedrive.live.com/login) and sign-in using the chosen email address and password.
- Once logged in, click
 in the top left corner.
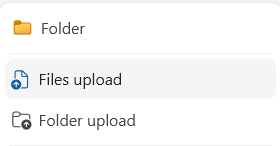
 - Select Files upload if you’re uploading a singular ZIP/PDF/Word/Text document, or, select Folder upload, if you’re sharing a folder containing multiple files.
- Browse to the file/folder to upload, highlight and press open.
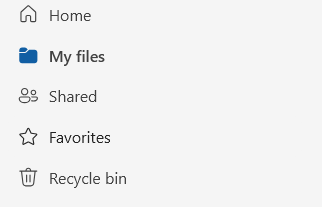
- You can find this uploaded file or folder in your My files, you can select this in the left pane.
- Hover over your uploaded file or folder and click on the share button.

- In the Share options, you can send your file or folder directly to the Recipient’s email address, you can also add a message. Simply type in the Recipient’s email address and any message you wish to add (but don’t hit send just yet!). Take extreme care to ensure the correct Recipient’s address is entered!
- Underneath email address and message, click on the settings (gear) icon beside Copy link.

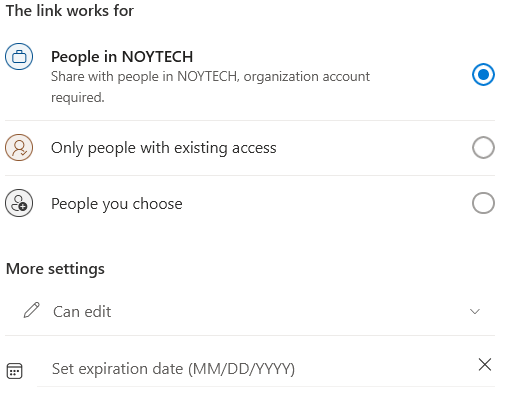
- In the Copy link settings, you will see a page similar to the following.
Select People you choose to ensure only the desired Recipient can access the file. Additionally, where suitable, always Set an expiration date to ensure the sharing link expires (e.g. 1 week). Click Apply and Send.
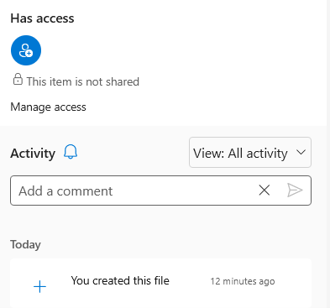
- Lastly, you can review the Activity (views/downloads) by clicking the 3 dots next to your file or folder and clicking on details.
Tips
- Use an excel document or similar ‘log’ to track files/folders being shared. This helps to ensure shared files can be properly removed/cleaned up once the sharing link has expired or you’ve confirmed the recipient has downloaded the file. Cleaning up and deleting old shared files that are no longer required maintains efficient security by ensuring the files don’t exist in the event the account is breached. **Refer to earlier note to ensure the account is MFA protected for improved security.
- Be careful not to prematurely delete the shared file/folder from OneDrive as this will immediately invalidate and break the link sent via email.
- If a file/folder has been accidentally shared with an incorrect recipient. You can immediately edit the sharing settings (Step 7) to remove the incorrect Recipient. Alternatively, delete the file to break the shared link.
- For those with OneDrive installed and syncing folders on their computer, sharing is possible from within Explorer directly. The above guide is provided for ease of access to the additional features such as the Activity log.